


Arrow heads which are only available here during the Chinese New Year are much sought after for making chips during the festive season, or just slicing them up to steam with Chinese sausages or waxed meat, also available during this time of the year. I cooked them in a stir-fry with leeks and some pork fillet. You can also check out another recipe which I posted some time back.


Recipe for Stir-fry arrow head with leek and pork fillet ~ 慈菇大葱肉片
Ingredients
- 150 gm pork fillet
- 350 gm arrow heads, about 6
- 2 China leeks
- 2 tsp oyster sauce
- 1/8 tsp sugar (optional)
- 4 cups water
- Salt and light soya sauce to taste
- 2 tsp cornflour + 1 Tbsp water to thicken
- Shaoxing cooking wine
Method
- Slice up the pork fillet, season with some salt and pepper.
- Peel off the skin from the arrow heads and smash them up.
- Slice up the leeks, diagonally.
- Heat up the wok with some soil, lightly stir-fry the pork fillet, then toss in the smashed arrow heads.
- Add in the water, mix in the oyster sauce and sugar. Let it cook and simmer, close lid.
- Once the arrow heads are soft and cooked through, add in the leeks, stir-fry.
- Fine tune to taste with salt and light soya sauce.
- Add in the cornflour thickening and drizzle on the Shaoxing cooking wine.
- Dish out and serve immediately with rice.


%2BMandarin%2BOrange%2BMarmalade%2B(3).jpg)
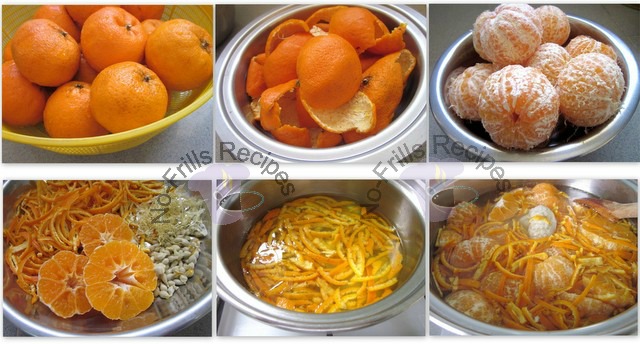

%2BMandarin%2BOrange%2BMarmalade%2B(8).jpg)
%2BMandarin%2BOrange%2BMarmalade%2B(5).jpg)


.jpg)


.jpg)


.jpg)